Forum Replies Created
-
AuthorPosts
-
So the tool I made (35 cm) and smaller than the diameter mirror that counts 41 cm…Perhaps you're confused but does nothing (or maybe I misunderstood me).
Meanwhile I try to correct astigmatism in this way then I'll see if they change course.According to you if you were using the cerium oxide with the pitch tool consumerei more surface than would the abrasive paper 800?
thank you
See you soon

Hello forum,
These days I made several attempts to correct the multiple surface astigmatism that I am after months of work, Unfortunately, the result was not the best, I think it depends on the tool in use, too small!
So I decided to create a new much larger tool (diameter 35 cm), almost as much as the size of the mirror using as raw material wood with a thickness of at least 2 cm.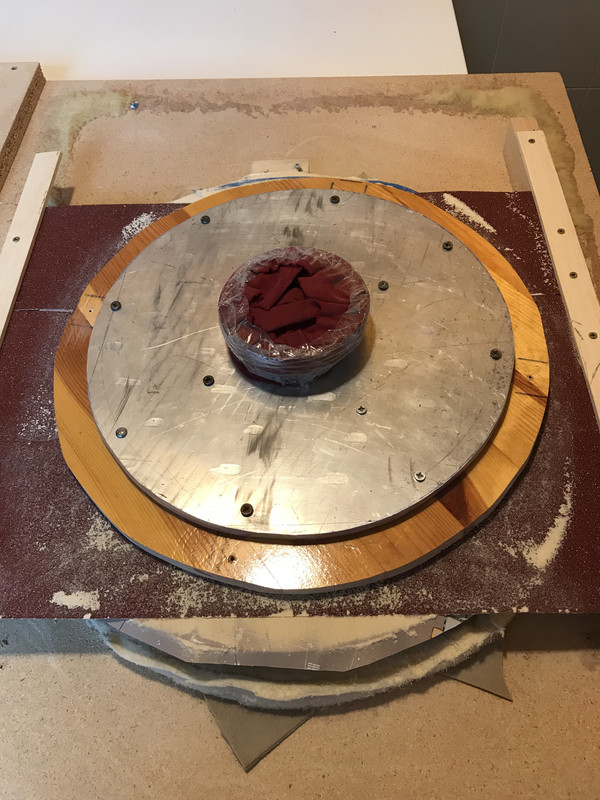
I tried to mold this wooden support rubbing on the surface of the mirror that I covered with sandpaper (obviously this operation before the mirror preferred paste on a layer of paper type of surface that the printer having a thickness of about 2 tenths of a millimeter in order to avoid possible scratches), I started with the grain 40 until then to end 400, obtaining a very smooth and adherent surface as possible.
The tool seems well managed, if it is based on the mirror it is a kind of suction effect, is completely sticks to the glass.
Then I tried to attack the tool with sandpaper spray glue to adhere to the support as much as possible and have a more precise form.
Gia from the first minutes of work can be seen more opaque glass pieces in different areas, Probably the glass in that part of them appeared higher (I think).
If I did a good job with the tool should be able to correct astigmatism Ball, I have no idea how long I serve to straighten the surface, The delicate point is that I have returned to a more coarse-grained (400)as it had been suggested by Giulio.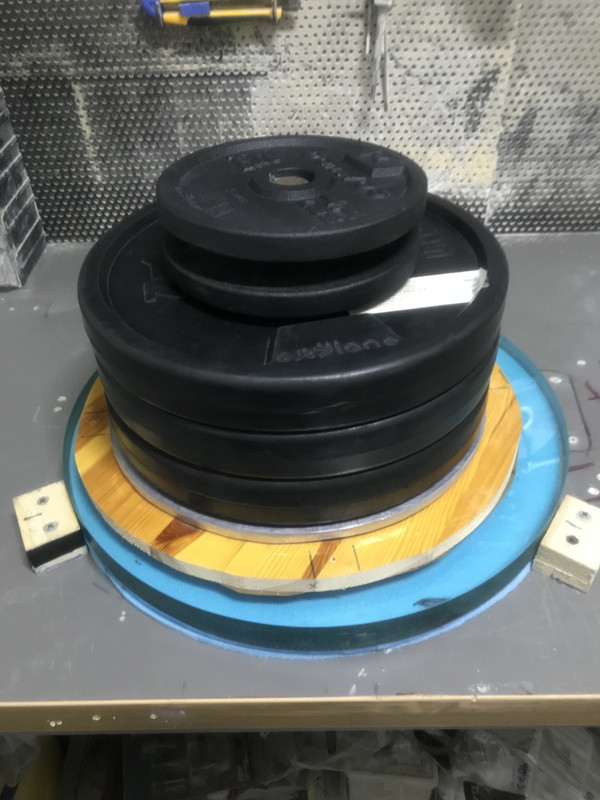
Given the dimensions of the tool you need to use weight to exert strong pressure at work and place discs from the gym above the tool, make racing 1/3 COC turns out to be the most conventional technique for obtaining a good spherical shape and correct defects.
We'll see how everything evolves.See you later
:Goodbye:@Giulio
So I take it you have no choice,I have to renounce my way to dig glass?The problem is that if I go back again to previous trouble will tend to score the surface…This will result in more time.
Are you sure that if I proceed with 800 It does not solve?
Do I have to go back to 500?
The solution of Gugolz pitch would avoid the tool plaster / glue?
Surely I will not risk breaking the glass so I will avoid the plaster cast…I might try the glue tiler!@Maximum
the glass is currently in phase 1, if the test was suitable I would definitely prepared the tool with pitch…it seems I have to go back.
To try again test these days being careful opening slot!
Why do you claim that the test in step 1 You can not do?
I can assure you that the surface is so smooth to also reflect a very dim light.
Thank you


hello Giulio,
the present location the fastest way to obtain a tool diameter of almost everything that could be?
Obviously make a mold of the lens with pitch without adding beeswax and linseed oil using the abrasive 800 it does not work?
Somewhere I read that the only pitch turns out to be a very hard compound.As for the Ronchi test how can I build one done right?
That made me really sucks…the ugliest Ronchi history!
Maybe I could try testing using light microscope Led 100x…
When I have time these days try again
Thank you

Hello guys good year,
are several months since I update 3D, However, the development of the lens is going on even if a little slow.
The mirror surface has been polished with grit 800, I removed almost all signs derived from previous grits, some lines are still present, 2 or 3 the ugliest 100x magnification:

I used this microscope:
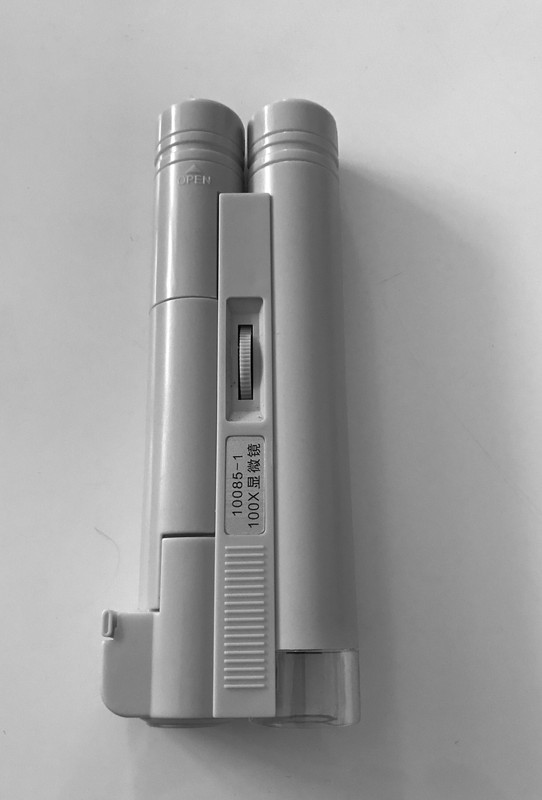
as regards instead the spherical shape of the results obtained are these:
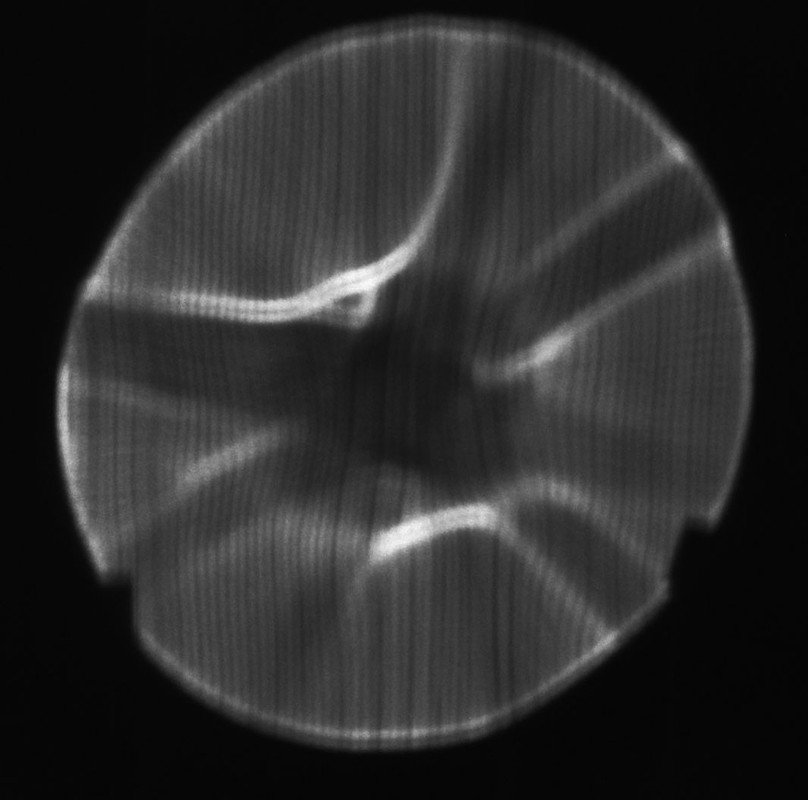
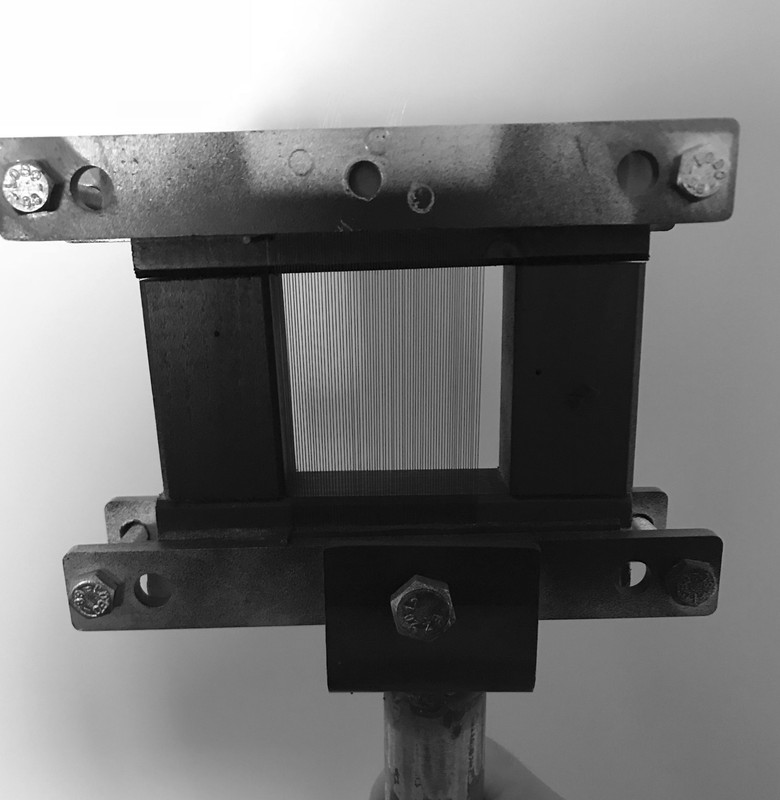
this Ronchi test was performed using a network of lines that I have made using a nylon thread wrapped around a wooden picture
I realize that I am presenting Ronchi not perfectly keep the fees required but I can not do better, the light used is that of the smartphone Led, I tried other sources of light, but the result was really bad…
From what can be seen from the test photos we understand very well that they are not in front of a ball, There are many shortcomings to be corrected, for this I wondered if passing to the next step using the tool of pitch diameter almost everything with the cerium oxide can correct the surface for both sphericity for signs were.
Thank you


I have to prepare for a possible Ronchi / Foucault nicely so I will test the mirror…

After repeated attempts finally think I've dug a ball…perhaps a parable!
I say maybe because I'm not sure that's just my theory to test, I rely on what I've learned in these months of grattavetro, a bit’ It was suggested by the measures that I find myself, measurements obtained accidentally or for c..o blow trying to delete a defect that persisted in the central area of the mirror, and a little’ for the image of the light source that see reflected.
Posizionandomi at the right distance that more or less coincides with the radius of curvature of the mirror find myself impressed the source of light that embraces the entire the entire surface and see it without distorted areas, in a nutshell an enlarged lamp…if I move away surpassing the radius of curvature of the source it shrinks, but remains constant at every point of the lens…
By looking at the lens of the small telescope I have at home the same thing happens, the reflected image remains the same in all points of the lens, constant!
I also read this article which refers to the caustic of reflection and good or bad also confirms what I say on the image reflected by a parabolic reflector and a sphere, unwittingly I dug the lens as shown at point B.
I say heresy?!
The next step now is to polish…I will get to work (barring unforeseen circumstances) next week…
I mainly like to thank Julius and Massimo that with their support and guidance they gave me the straight right to reach the goal!
So continuously until it disappears completely…

The thing that puzzles me is that if we pass over hand the defect do not you feel at all…
Possible that it takes so long to delete?I'm still using the grain 150 which it is not so fine!Thanks Massimo!

After a few sessions it appears the defect is slowly disappearing…
Now it remained a small track we see if it disappears entirely during polishing

@ Julius / Massimo
thanks a lot!

I treasure your advice and go on working with the tool diameter and ran almost full 1/3 diameter center of the center…let's see what happens in a few days!
If the center hole is not very deep already in short I should see good results…See you soon!

Here are the results achieved
Hi Massimo,
I tried copying the link to Vimeo but I did not uploaded

After I try again
For the Ronchi test'm waiting to get a nice shiny surface…
What interested me most was whether an ordinary lamp goes wrong or I have to use a specific lamp?!
I have reached the desired arrow…but the ball is still a little’ far!
I thinned to fine the glass edge and this earned me a little more surface…I would say that currently the edge turns out to be of about half a millimeter per side…
Taking a focal control (which matches) and looking good reflection I noticed that the center appears to be a little’ dug more…I find a central circle of approximately 4-5 cm in diameter…
I tried to get over his hand but it makes it hard to tell the difference,
I'm trying to dig a little’ all the glass with vertical passed without touching the central part to bring it to the level…I'm using the grain 150!To post a video like you do?
@Giulio
“Some artisans reach the arrow using a diamond cutter cylindrical cup mounted on the tilted head of an old rotary table milling machine. But then that surface certainly not spherical will still be unified using a tool plaster”
Maybe I need to start considering the idea…if they do not resolve with the sub-start work diameter I to create a similar tool so shorten the time for the ball!
If I understand correctly I should use chalk on the mirror surface, creating a kind of mold / right shape?!Regarding the Ronchi test a traditional tungsten lamp okay, or it takes a specific lamp?
As at the end of the mirror should remain around 1 mm then should I still dig a little’ so the edge thins a bit’ more…

Working in the mirror so that I have chosen has greatly lengthened the time (as indeed I had anticipated)however, the most important thing is that I can finish the lens…the time taken does not scare me because I'm not making a great effort to work it…indeed it has become a fun
From calculations made once I managed to reach the ball, parabolizzare for the mirror they will need more 15 micron of excavation…we hope well
Update as soon as possible!
Thank you!!

Then deleted lines…Now the mirror is not more flawed!

However, it remains to be decided for another problem that sends me a bit’ bush out…the mirror presents a burred edge eating me about 1 mm per side and then, in essence, my surface is no longer useful 41 but 40.8 cm…I realize that 2 mm Mirror lost are not many compared with the overall size, although he is still surface I could use, not to mention the fact that in this way I should dig even around the mirror for another half mm if I want to remove the barb.
Usually at the end of polishing is left a small border drooled?
Meanwhile, I also got the small microscope recommended by Giulio just waiting for it to be delivered to me as soon as possible!
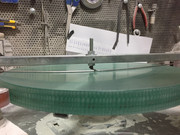
But here I'll show you my method used to reach the ball corresponding to the marked arrow to this mirror….I made a kind bow / crossbow using an iron rod about one mm, bent at the center by a pin which is adjusted in height!
Obviously I just need a guide to see where to eat well mirror the final result will give the Ronchi!

-
AuthorPosts
