Forum Replies Created
-
AuthorPosts
-
hello Mirco,
I'll test all the elements at room temperature tomorrow even if at first I'll end up with some pieces that don't match, let's see if I get different results.
Unfortunately, I tried and tried the adaptation several times, making everything adhere well, detachment can only be seen when the tool returns to room temperature.
For the sieve I am using a mesh with more than 6000 jerseys, so much so that the oxide has a hard time passing but so I'm sure everything is clean, before I had the doubt that the problem came from the polluted pitch in fact I had to redo the tool sifting the pitch too to rule out the problem.
All that remains is to review a Ronchi again to be sure that everything is working well.
Update as soon as possible.Thank you, see you soon.

Luca
hello Mirco,
thanks for answering me, I am a bit groping in the dark since it is the first time that I approach polishing with the patina of pitch, as I have already written I am referring to Giulio's report to help me a little.
Initially I also thought that the adaptation was not the best but I was sure when I performed the first work session and I noticed that the pieces were all consumed at the same time.
However, a test at room temperature of everything I could also do it, just to see if anything changes.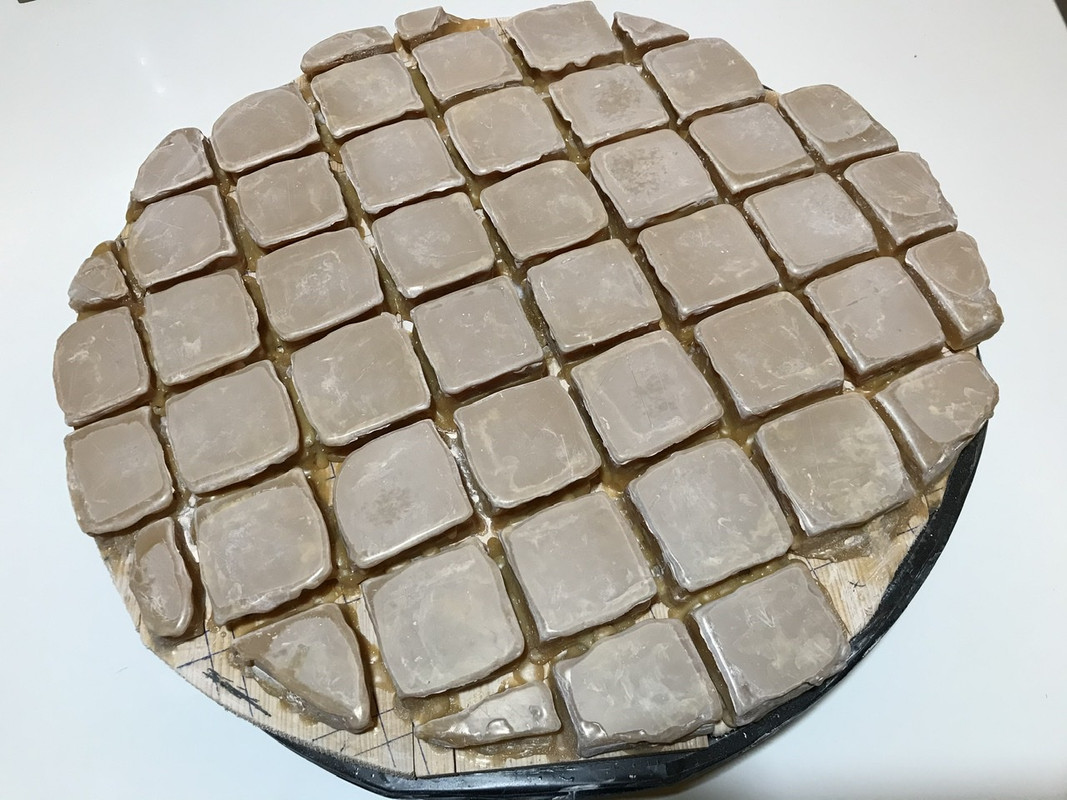
Another detail that I forgot to mention the other time concerns cerium, I don't know if it happened to you too but my dust contains impurities that tend to mark the glass during work, I have often heard them by passing my finger over them.
Now, before starting the work sessions, I always sift the oxide.
As for the Ronchi I'll be back to repeat it these days so let's see if everything is going well and then post some photos.See you soon.

After a few work sessions I would like to share with you some sensations found in polishing, I do it because I have the doubt that my actions are not entirely correct.
I start by saying that the mirror already has a very shiny surface even if they are still at the beginning of the work, I have many lines left to erase while the craters are gradually reducing.
I try to help me by referring to Giulio's constructive report.
Before starting the work session, I always heat both the tool and the glass to about 40 ° and use hot water for the oxide, then I perform a check to see if the pieces touch all using a cellophane sheet between the mirror and the utensil.
During the work sessions I happen to feel a very strong friction when I add the polishing powder, even if this takes a very short time just the time to perform 1-2 minutes of running, then afterwards the tool slides freely without friction even though the plugs all fit together on the surface, and it is at that point that I stop, I remove the tool and add more oxide.
Another thing I have found is for example the fact that my work sessions are not all the same, I happen to have a typical first session in the morning with the tool working in full friction, if then I detach for 1-2 hours and resume a new session(obviously by heating everything and retrying adherence) the tool no longer works in the same way, it lacks friction so much that I find myself with a tool that slides on the glass simply by sliding.
I also noticed that some pieces on the patina have lines like the lines left by the tip of a pin.
I managed to complete 4 sessions done well (of about 1 now each, 2 with tool above e 2 with tool underneath) where I felt the friction perfectly, the other three, as I explained, I made them but I don't think they helped much.
I also performed a Ronchi test since now the surface allows me to do so and the only hitch I see is a bit of a beaten edge which, however, I will leave it alone for now, since I still have a lot to polish it will most likely correct itself along the way, in the meantime, to remedy the problem, I am trying to perform short runs and I try to be careful not to overdo the pressure on the edges.See you soon

Luca
Thanks Giulio!

I had a look at what I've posted, it seems a good point of reference for my doubts.

Tomorrow morning I will experiment with the tool to see if I could do a good fit otherwise I'll have to make some corrections to the support.See you soon

Luca
OK thanks!

Hi Massimo,
therefore considered that after the adaptation of the tool presents some smaller dowels compared to other run the risk of performing a wrong polishing?
I have to redo the tool?
Average to run a good polishing how long it usually takes?Thank you.
See you soon!

Luca
Hi guys,
I do not know how good writing in such a dark period for Italy, but unfortunately I need to update the progress (negative or positive that they are) with regard to the tool in pitch.

In these two weeks I have made several attempts to provide a tool which as possible approached to the polishing work.
Initially I tried to make the patina using a grid a bit bigger than the one originally used but I failed miserably.
Then covering one of the videos in the post of Julius "tool with pitch candy" I tried to follow that road.
The author of the video (Gordon Waite)creates a cast of the leaching curve pitch above the mirror covered by a sheet of aluminum, after once solidified affects the forming of the squares.
Not having the second convex mirror worked I had to make me a thing, I used the tool in wood used for the processing and I have obtained the mold by pressing the tool in a square shape the cement slurry so as to obtain the right corresponding curve, once dry I covered the concave part with cellophane and inside I poured pitch and then on to the pitch I attacked us the aluminum support .
Following hardened pitch I attached above the curve of the pitch squares.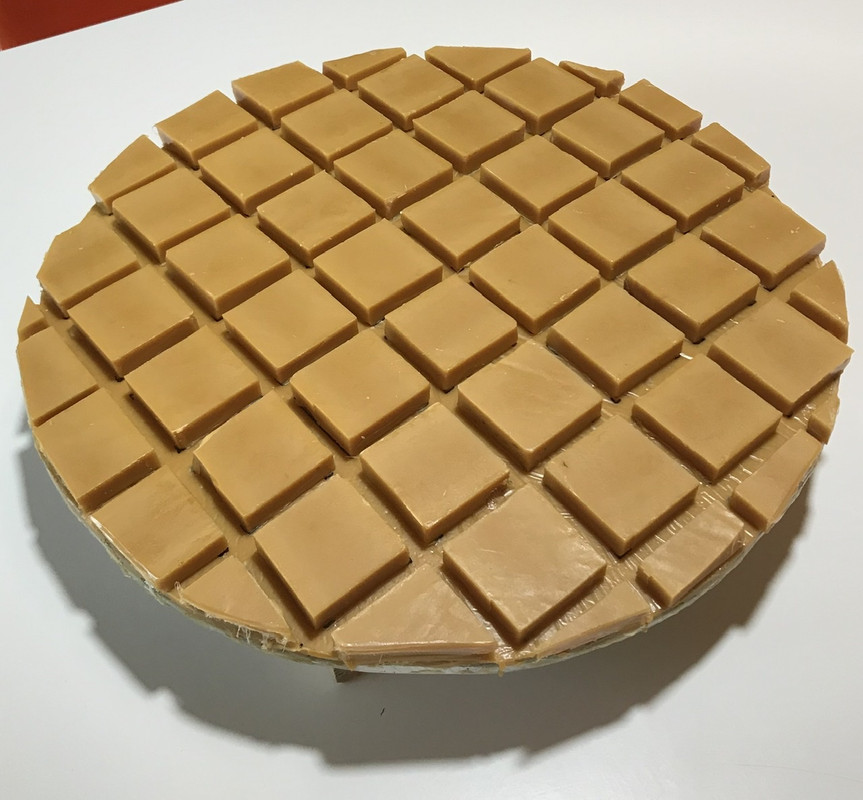
After that I tried to make the tool fit over the mirror as usual.
I used interlayer between mirror and tool greaseproof paper.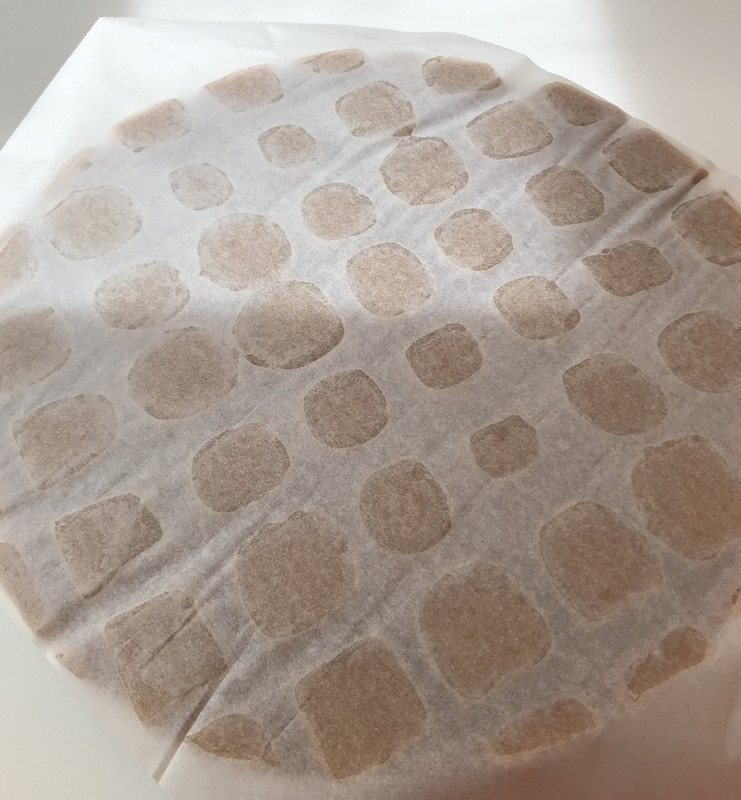
The problem encountered in this part of the procedure was the fact that the pitch squares are not all the same height (I do not know if you consider it a normal thing), so I had to warm up the tool several times before coming to a perfect adaptation of the same.
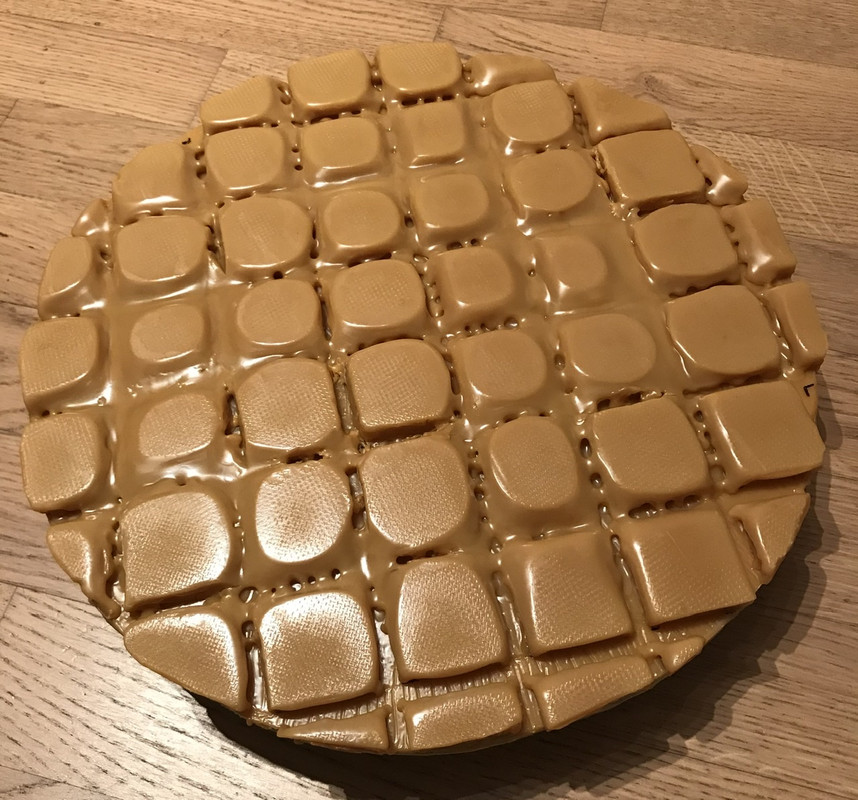
In the end though I think it went well as we can see from the picture adaptation.
Of course I left almost perfect square (4cm x 4 cm) and now I find myself irregular square, although I do not think it's a problem because in the videos Gordon created the square are not at all regular.If everything worked out nicely I should start to make a first processing polishing.
Before starting I need to clarify some aspects:
1) The micro facets on squares are indispensable and if you have to be recreated every time you consume?
2) As for the polishing mix I had read somewhere that you had to use 2 parts of water and an oxide.
3) Another question that I have is if I have to exert pressure on the tool during polishing or simply slide it on the mirror.Thank you!
Hello everybody!Luca
Luca sorry, I had missed the grid, Giulio has reason ... in fact is too small and also the grooves must be more wide and deep to allow the patina to yield and conform to the shape, otherwise as I said before, It remains rigid even with application of a high weight, sorry…
@Maximum
I do not matter so much I had to get back to the work these are just attempts before achieving the right tool for polishing
Hello Giulio is a pleasure to hear from!

You really are a universe of knowledge.
That said, I set to work on all that I've posted but I only read the part about the realization of the patina and wall plugs.
Is it where I want it now and focus more do I need to see if indeed the work done has worked so far.
I must say that in the figures you see revving pitch with huge anchors and a big space to separate them.
I also had a look at your 3-d "tool with pitch candy", Also you see them provide a tool with large squares spaced at least 10 mm.
In 3-d Mirco rather I see use a grid with large spaces in squares, perhaps it would be a quick fix, I do not know.
I'll have to reorganize and study something new compared to what I had in mind.
Unfortunately in my case I do not think he could put on a tool with plugs attached, They are devoid of the second mirror-tool and create a plaster form as is suggested would require much more time.
But never say never!
As soon as I can I update!
Thanks for your suggestions

regards
Luca
Hi guys I upgrade work last night.
So the dough as I had already explained to me seems the right consistency.
But I need to do it all the cast because something went wrong.
Maybe I miscalculated the times, I waited too long to rest the tool of pitch on the glass(for fear that the temperature was too high, causing the glass to break) and I got a complete tool only on the outer parts while the inner / middle part has remained smooth.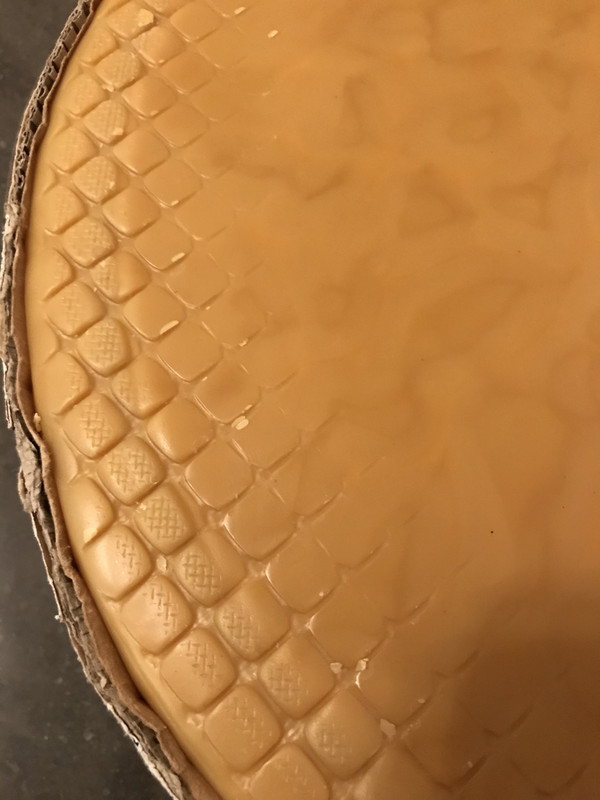
also I would tend to exclude the ballast used on the tool (20 kg), I think a more weight than enough and in any case I had already used once before and had gone well.
Considering that I go back to melt all the ingredients mix we must add back linseed oil and turpentine?
To create the pieces on tool structure I used a network.
But the work is finished in some places I just attacked causing the partial rupture of some piece.
I thought of lightly oil the network with linseed oil, risk of compromising the dough?Thank you!
See you soon!Thanks Mirco!

Right now I finished the tool.
I followed to the letter the advice Massimo.
We'll see how it evolves around now tomorrow.
I must say that this mix of ingredients has made me unprepared on some steps, but all in all it seems that the consistency of the dough is the right hardness.
I trust in your advice!
We update tomorrow on the results obtained!See you soon

well Massimo,
I just have to try and then decide what to do.
These days I'll try the recommended percentages and then I'll let you know.Thank you

Hi Massimo,
as for the patina of pitch, the percentages you recommend could be fine even if the ambient temperature was around 20 ° / 23 °?
I think I polish the mirror in an environment with these characteristics.I'm not particularly proud of the method chosen.

Initially I thought it was a quick route that I chose but instead I had to change my mind also because I encountered various problems partly due to my inattention to the work done and partly due to lack of experience.
I will certainly adopt more conventional practices in the future.P.S.
Good luck for the development of your new project!
hello Forum!
After several months of hard work I take stock of the situation.
As written in previous posts I have created a tool (35 cm in diameter)molded in the shape of the mirror in question(41 cm).
I tried to erase the multi-astigmatic areas from the surface as shown in previous photos with 1 / 3D center on center strokes.
The grinding work was not done exactly with the traditional methods required (i.e. abrasive corundum powder), but using abrasive paper attached to the tool, I have come to work the surface with grain 1000.
Now the mirror is very opaque, instead before during grit processing 800 he was very lucid, the surface reflected enough light to suggest a Ronchi test.
So I need to move on to polishing hoping that I don't have to go back to grinding again.
For the step concerning the pitch tool I tried to create one by pouring the pitch on an aluminum support from 1 cm thick, should be enough to keep it from deforming during processing (although I'm not sure if that's okay since aluminum is a metal that is easily affected by temperature changes).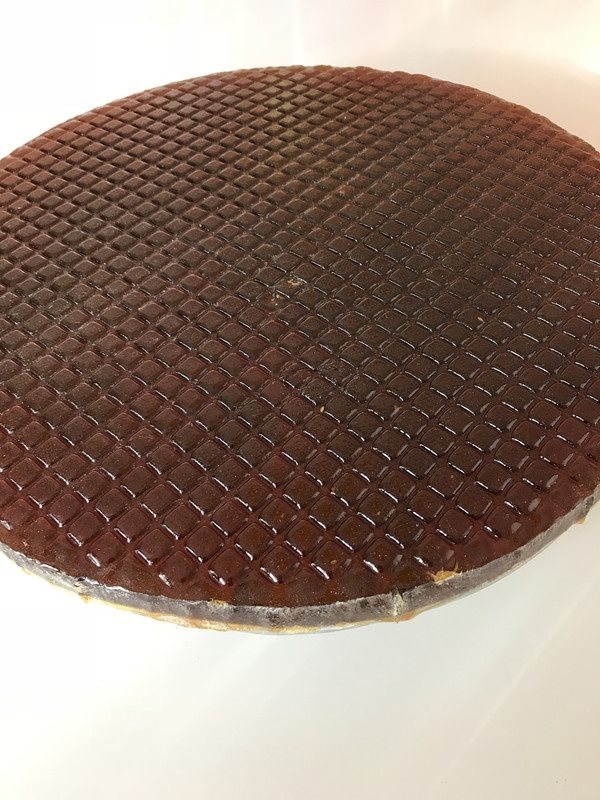
However I still have to decide for the final hardness to give to the pitch.
I made a mix of rosin + turpentine(to try), I didn't consider beeswax.
It is essential to add beeswax to the mix or just turpentine is fine to give the dough the right consistency?
I read a post where the nail test is indicated to determine the hardness of the mixture but I did not understand what it is. (I suppose you have to mark the surface of the pitch with your fingernail?)
Here are some photos with 100X magnification that show the surface in the central part and on the sides.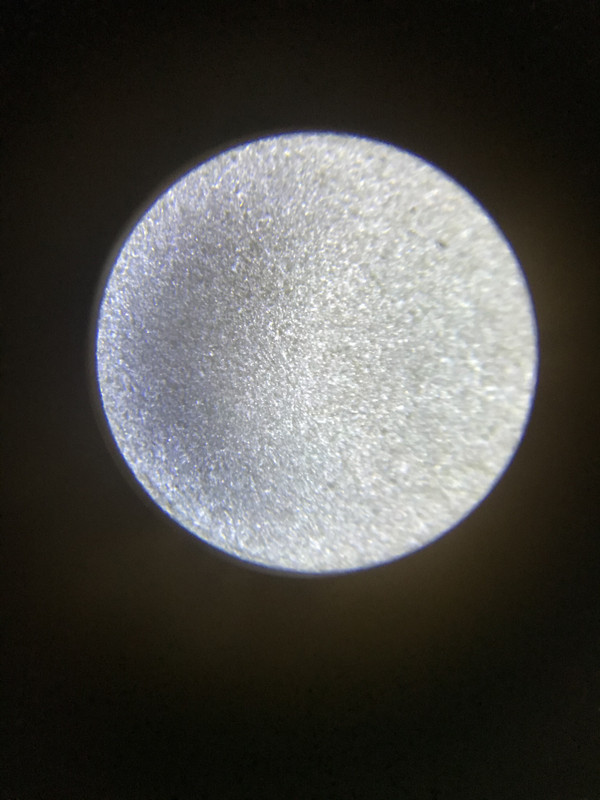
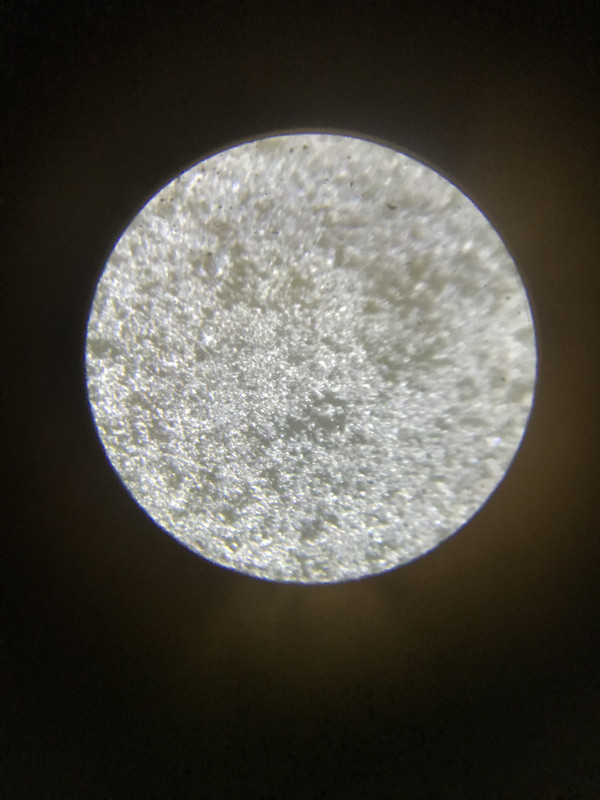
Fine thanks


Thanks

-
AuthorPosts