- This topic has 25 replies, 3 voices, and was last updated 6 years, 2 months ago by
Giulio TiberinI .
-
AuthorPosts
-
16 January 2019 at 8:44 #11270
Hello to all,
I hand a, dated, Mirror Konus 255mm F4.8. A good opportunity to purchase the complete tube. It will be part of a telescope to a friend.
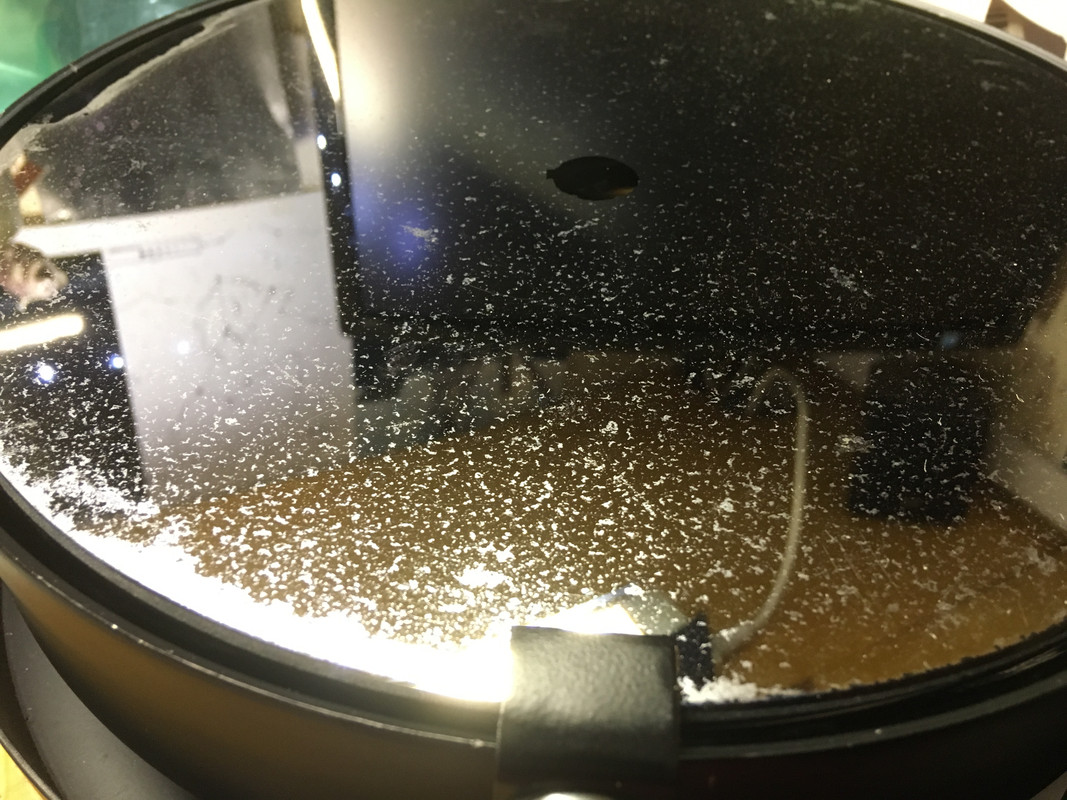
First obvious thing: the aluminizing decidedly battered; full of corrosion and, since that is within the budget, to redo.
Even the measure by Foucault in the parable did not give exciting results: it seems sovracorretto (strange, They are generally sottocorretti), for a result of lambda / 2 in the best wave. If anything seems well-chamfered shape, without problems (except perhaps a slight lowered edge of 2-3mm)
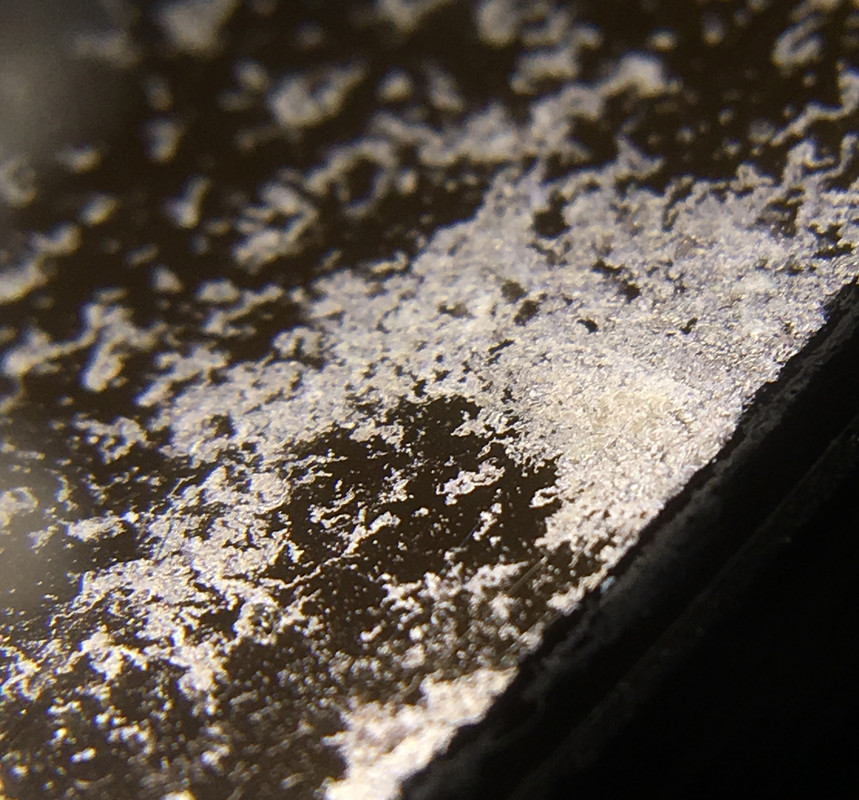
I removed much of the coating …scotch: certainly not orthodox but most it came away so easily… Then I used ferric chloride residue. Very easy and fast for areas not too damaged; in the most corroded points evidently the material is no longer but some aluminum sulfate / nitrate /… aluminum (I am not a chemist!) and much more resistant to the action of chloride. But in the end I would say the work satisfactorily completed.
Now the area looks much nicer to Foucault. a couple of new measures directly on the glass confirmed the first relief Foucault (good, if only my bets to areas with Foucault seem repeatable and accurate enough).
Now I am preparing to reduce the parable. I'm planning to use a sub-diameter from about 80mm long stroke (up to the edge mirror) positioned with rope around 70%. First time with sub-diameter: I hope that you understand the signs of Massimo Marconi with the two articles on the sub-diameter, and a verification with Polsim.
Now, after pressing, we kick off…. any suggestions in terms of operative time? Obviously for the first “stroke” to be checked.
PS: how to insert images in the text? I tried with the img tag and placing a link to AmazonDrive but it seems not work…)
Fabio
16 January 2019 at 11:01 #11272hello Fabio.
Your removal process is impeccable dell'alluminatura.Just to make me an idea than my work on F5: A mirror 250 F4,8 has a measurable arrow in the middle of 3,32mm against 3,18 an F5, it's a “countersink” parabolizzazione that of the edge differs from the sphere of 2,25 microns against 1,99 an F5, then 251 nanometers high. (a quarter of a micron).
I think I had to do the job, to realize the trend, I would first Test at Foucault test the actual focal length that currently has your mirror; Test which also provides the amplitude indication of the area due to the parabola, and also it indicates the amount of error in the existing nanometers.
I suppose that, not as I had no experience in the use of sub-diameter tools, and given the current state of the mirror already too deformed (if I understand it already suffers from an excess of flaring that requires you to work a fairly extensive area, not to add or modify the working depth, but to go back towards the ball…. but possibly to stop ” halfway”, that is, the parable) I would try to use a tool to full diameter.
If you were to use a sub-diameter, It would not change the procedure for the verification of working time to apply corrections in, compared to the full diameter.
In practice as first responders (guided by the technique described by Massimo), I would only two rounds of table without exerting pressure on the tool and well creamy cerium oxide. To then repeat the Foucault in order to physically see the difference in nanometers resulting from the processing mode applied in the affected area.
We also hear what approach would you recommend Massimo.
16 January 2019 at 11:11 #11274Thanks Giulio,
and, I clearly controlled the focal (inter alia, indicated on the back of the glass, then tested in its time, realistically accurately: 121,8): right!
the extent to Foucault, repeated three times to make sure the error is able to achieve, leads to about 120nm of “projection” of the area 70%.
Tonight I'll try a light “stroke” to estimate the effect (areas involved and depth)
16 January 2019 at 11:47 #11275I thought that I use an entire tool, given the very regular shape and the wide area of intervention.
But I wanted to do a test with a small diameter, become familiar even for a little.
We see that “jump out”16 January 2019 at 15:04 #11277hello Fabio, e’ very interesting object in the correction, at first glance it may seem simple but it is not '. I would keep some aspects in mind:
1- the figure has a very regular trend, a sub-diameter, which only works on the affected area, however, is likely to alter the regularity of the figure. ( which then should be smoothed again ) Since the sub and’ I also would try with fairly extensive racing to w ( more’ large on the center and denser on the outskirts, in such a way as to connect the entire surface to form new.
2- anyhow, as suggested by Giulio, you should take “confidence” with the tool, see how the surface responds to actions exercised, because the variables involved are many and much depends on the way of working of the operator, more than with the tool at full diameter.
said this, I follow with interest your job !

p.s.: to insert images in post:
1- copy the link to the image
2- to select “img” from the tag bar just above the text field.
3- paste the link and give ok.17 January 2019 at 8:20 #11281Test Image:
address: https://www.amazon.it/clouddrive/share/TKNxThY0Dj4KfRAqGltbdIj8jaRRYkm7Nbo38ijkY5s
—-I can not see it… The link, nel browser, it works. Probably from Amazon / Drive can not upload?
17 January 2019 at 10:41 #11284Please try https://postimages.org/ , Once loaded the image copy and paste the link “direct link”
 17 January 2019 at 13:47 #11285
THANK YOU!
Provo:
dell'alluminatura State:

Detail:

removal:

 17 January 2019 at 13:59 #11286
The disc is a nice glass “melted” Uncut! Is there any internal bubbles and even a (micro) cut in half by processing.
look at Foucault:

the small tool
 18 January 2019 at 12:31 #11287
I did the first “past”.

The effect was slight, as expected, but a little’ more marked on the area 1.
Now, in the next steps, it would be better not “to dig” more in this area. The ideal would be areas 3-4 connection with the 2 and 5.I'm thinking, given the tool to be approximately 80mm, racing type these (with the tool around the edge area 3-4, concentrating a, light, pressure in the inner part.
 18 January 2019 at 15:55 #11289
in this way, however, ', It goes with the tool center on the edge, instead adrebbe not touched.
the areas to be excavated, in this case, They should be reached from the inside, Doing so could increase the edge retorted.
the technique you described could go in my opinion, provided to always keep the tool inside the mirror and to generate in case the pressure on the part of the tool towards the borbo.18 January 2019 at 16:01 #11290Great, In fact this was my doubt, and the error was, obviously, the other solution.
so I will proceed:

Thank you!
19 January 2019 at 12:36 #11291Ok, races with overpressure outwards (see above) They have had a great effect.
Executed in two steps: before 2 laps 6-7 and fro, then again 2 laps with only 4 and fro.Starting from:

passing through:

and now we:

I think I'll try again a very light.
The form seems to be still generally blunt and fairly uniform
19 January 2019 at 14:44 #11292Well done Fabio… we are almost there, short time left !
 21 January 2019 at 12:00 #11294
I made another pass as the previous: tool tangent to the area 3-4, with pressure, just, on the outside. 5-6 back and forth to 2 Mirror laps

Last step I concentrated (attempted to) straddling zone 4 e 5: 4 races court 2 Mirror laps:

Now become very critical measurements: it seems that I can keep a repeatability of episodes of Foucault around 2-3/100. Of course at this level just a few cents change everything: I imagine a 400mm!
A bit’ difficult the reading area 5 who suffers from a discreet “hem” (I travel with the French terms… understand why
 ): The brightness is anything but uniform with the bright edge on one side and dark on the other.
 I hope in a few days to make a star test!
-
AuthorPosts
- You must be logged in to reply to this topic.

